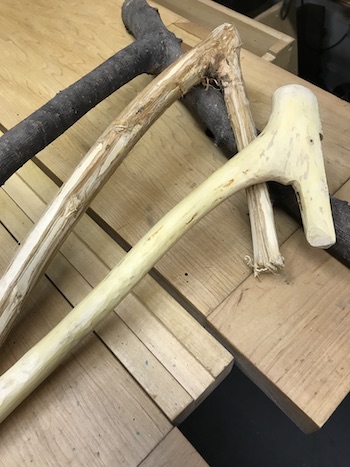
All you need is a blade. For a few years and many reasons, finding a “conventional” adze for carving bowls has been difficult. A fascinating tool that’s an option is the elbow adze. For generations, it was used mainly by First Nations and Indigenous people in Canada and the Pacific Northwest for carving out boats and totems, now called memorials. Why do I say this?
Most of the premium adze makers and blacksmiths are not only out of these tools, they’re not even taking orders, backorders, or wish list orders. It is not just a temporary inconvenience.
And, of course, this comes when the interest in carving spoons, bowls, and other items is high… again.
Occasionally, a blacksmith will release a few adzes for sale. The tools are so sought-after that In spite of the high prices they get sold out fast. I’d say that is a reliable economic barometer! Still, I never expect to win the race to buy one.
Who said there’s no adze?
The elbow adze appears to be a rustic substitute, but it is more than that. Historically, the art of making and using the elbow adze is reverential. The practice of making and using these tools is still taught and passed on today.
The idea, then, crossed my mind: why not make one?
I ordered two forged elbow adze blades from a blacksmith based in the West. They were sharpened and polished right out of the box.
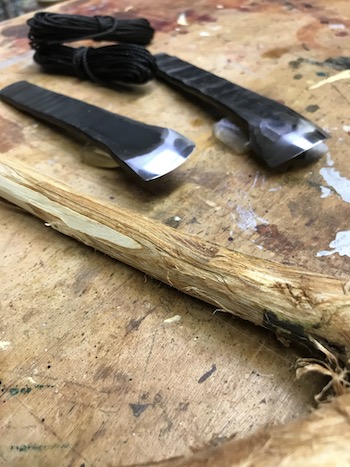
The flat blade has an essentially straight edge with a slight cup for texturing wood surfaces. The gutter blade has a curved or cupped edge for aggressively hollowing out wood on the cross grain.
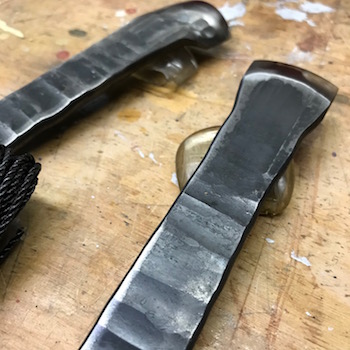
Both blades are sized for small adzes, just right for me. I do not want to hurt or tire myself out too quickly. Traditional elbow adzes, however, can be quite large and heavy when configured that way. That’s just too much for me.
I am going to make the hafts (handles) from elm branches found in the neighborhood.
Removing or debarking the branches with a drawknife is a sweat-inducing exercise. There is a rhythm and cadence that develops when cutting.
Knots in the branch need to be treated with care. Some are like iron. Obstinate and resistant to direct force, they need to be “strategized” down to flat with a chisel. A wrong swipe with the drawknife will leave the bones in your arm feeling like bent gristle.
Sticky sap, grit, and algae agitated from cutting the branch clings to the blade. It may need to be wiped off occasionally.
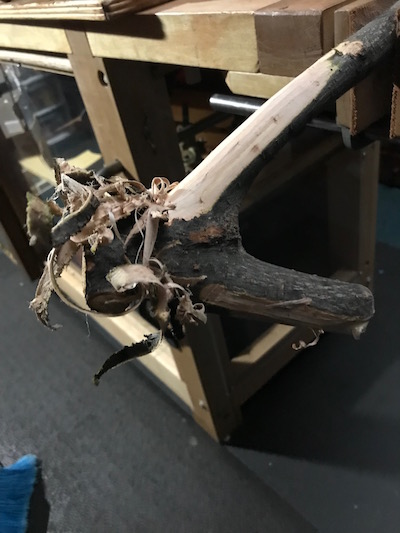
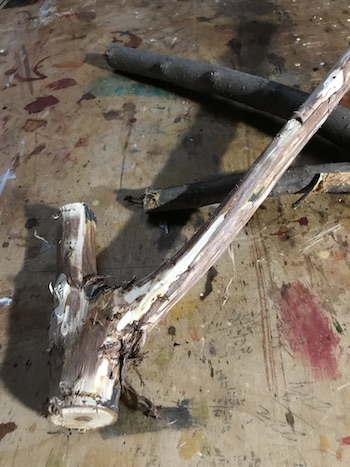
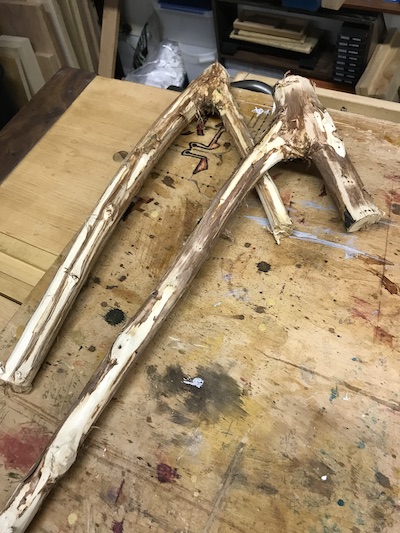
Two years later
I left those branches to dry for over two years. It wasn’t on purpose!
I had to take a moment to remember where I left off. Oh yes. I’d removed the bark with a drawknife. The seasoned elm blanks are ready now to process further.
They did not contract or shrink enough to worry about. I still need them to fit my hand. I believe they will.
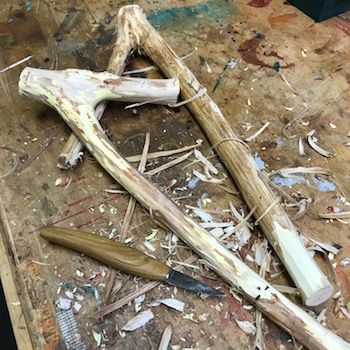
I’m ready to finish this project!
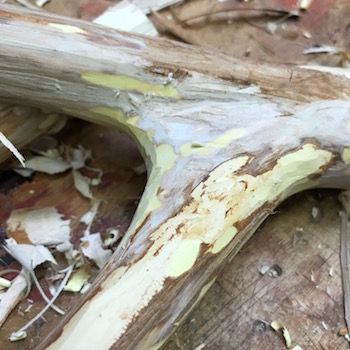
Gathering the other supplies
In addition to the debarked branches and blades, I need:
- carving knives
- combination square to set the blade angle
Traditional guidance requires that the bend or crook angle on the handle be about 60 degrees. Many branch crooks naturally satisfy that requirement. I don’t stress over this. My observations during my walks reveal that the crook angle is evident, naturally, all over the place. It seems that most deciduous tree branches – those with leaves that drop during the fall – have this quality. One thing to think about is finding branches that are wide enough to seat the blade on the handle head.
Ergonomics of the handle is important, too. I like a handle cicumference that will prevent my fingers digging into my palm when I am holding or wielding it.
Refining the debarked branches
First, the debarked wood has to be cleaned further. I want it to be smooth and ready for receiving the blades.
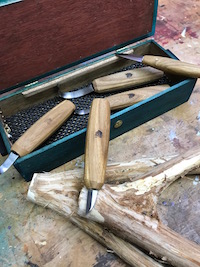
The chip knives are handy for this kind of work, especially for carving out small areas that are not suitable for the drawknife.
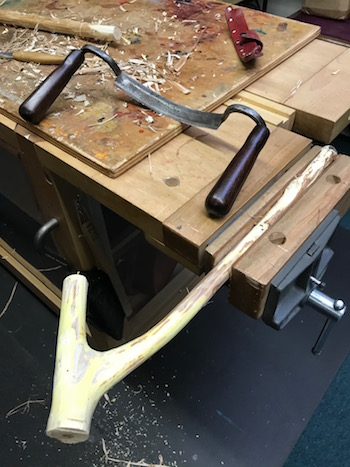
The seating for the blade needs to be carved out of the handle head. I used the combination square to determine the 60 degree angle. The measurement is not a strict one, but it helps to get as close as I can.
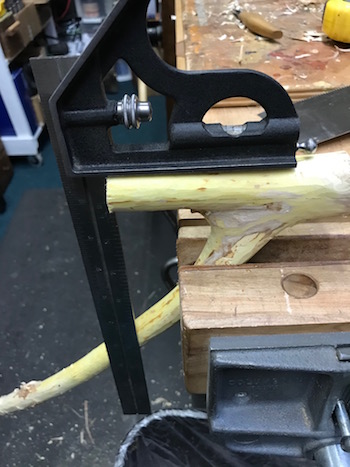
setting angle with a combination square.
Now I carved out the seating bit by bit for the blade. The goal is to secure the blade on the flat of the handle head.
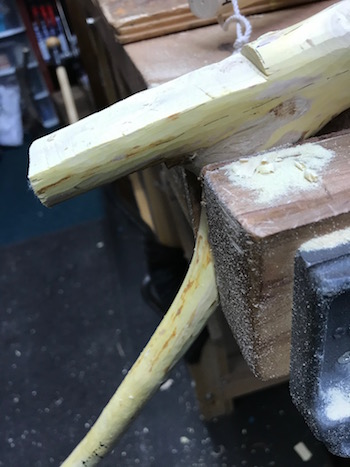
Roughly, the length of the handle is determined by the angle measurement for the seating of the blade. Typically, ergonomic adjustments are made by the user. Or the user can take it as it comes and adjust to it when working. I just picked a length that I felt safe and comfortable with. If it does not work, I can debark another branch and start over.
Next time: Binding the blade to the handle.
_________
Baadaye
Shirley J ❤️

