Waiting for an idea, a symbol, or a sign requires patience and preparation. You have to be ready to receive that molecule of awareness. How do you do that? Well, a thought must already exist in your mind sparking a need or desire. It wants to find a mate in order to fulfill its destiny. Once in the wake of that wandering thought, you hold it, and wait.
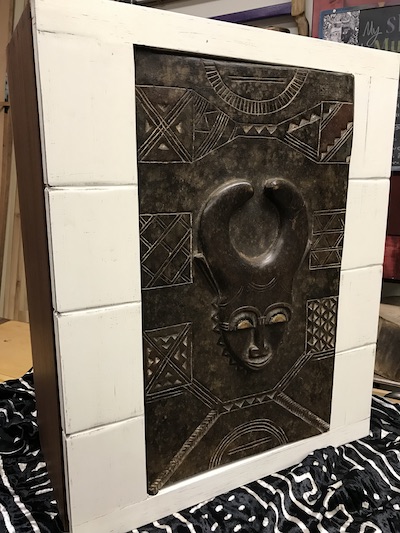
This project was built around a door from the people of Baule, a region on the Ivory Coast of Africa. A door is not a cabinet. And a cabinet is not a door. But the last post was almost all door, wasn’t it? It helped to break the chain of rules. Yes, rules are helpful. They give guidance and provide connection to the past. However, rules that are too rigid and devoid of compassion only serve to kill the future. I have no desire to be an accomplice to that. Therefore, when ideas alight, I take care and pay attention.
That awareness guides me in my shop. During this project, I developed a few skills and solved a problem or two in an adventurous way. The door as furniture appeared to be out of place. Honestly, I can say it was not. It was more than just a symbol of liberation from the choking restraint of convention. The timeless revelation? Accepting what is possible rewards us with that which is pleasantly unfamiliar, beautiful, and challenging all at the same time.
Part 7
The finishing touches
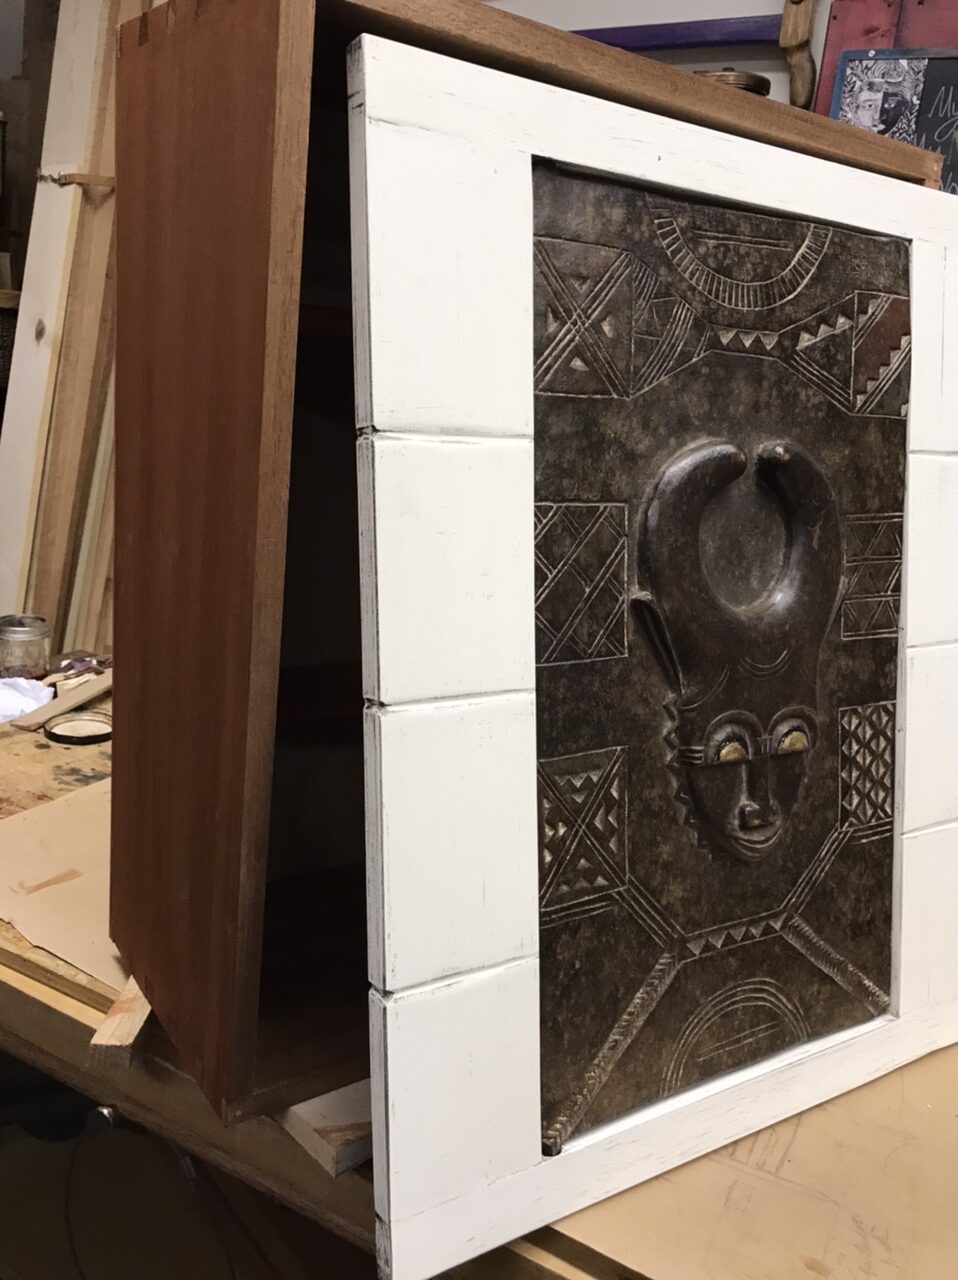
I wanted a final finish for the frame that contrasted with the dark finish of the door. I don’t want the dark door to disappear in a sea of dark stain. Two coats of a light shade of buttermilk milk paint cover the frame with a clear coat finish on top. A dark glaze was applied and wiped off.
Additionally, I carved lines into the frame stiles to simulate stone or mud blocks that were enhanced by the glaze.
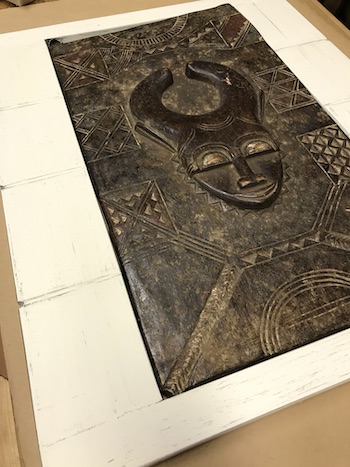
I applied a dark creme wax on the door to brighten the carved features. A little cleaning first was in order. The wax was applied. I used a small dab that I distributed all over the door with a clean, slightly damp cloth.
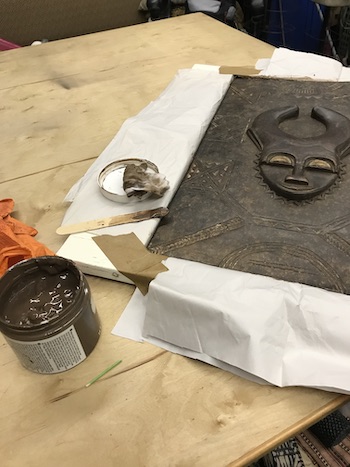
After a little time for drying, maybe 30 minutes, I used a dry cloth to buff and polish the door in sections.
Hinge controls
The door hinge retainers or controllers were cut from a 1/4″ x 3/4″ x 3″ piece of remnant wood. I shaped them a bit and drilled anchoring holes.
Part of the frame, however, will cover the cabinet’s inside 3/4″ front edge. Subtracting that from the 1-1/2″ rail of the frame leaves 3/4″ remaining to be covered by the controllers.
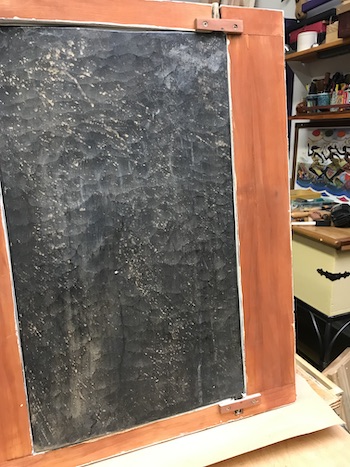
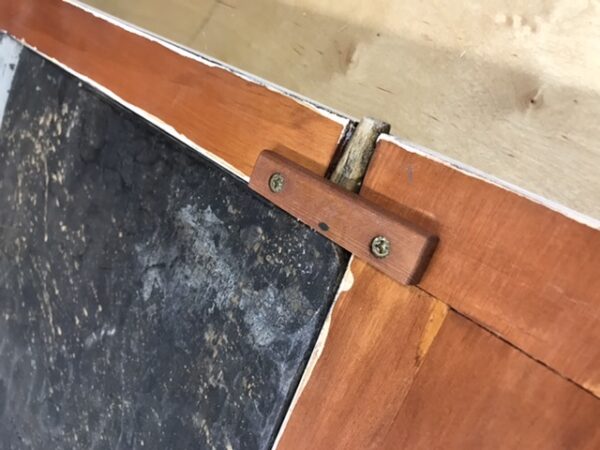
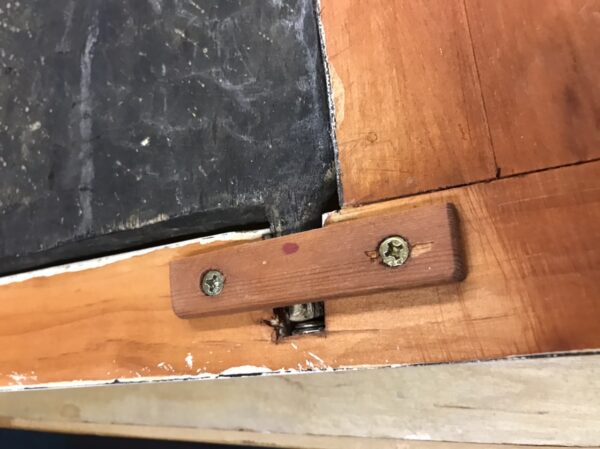
After testing, both controllers were adjusted from 3/4″ to 1/2″ in width to avoid getting in the way of the swing of the door. Also, the inside faces were further adjusted by slightly scooping or hollowing them out with a chisel to reduce friction from the now enclosed rotating hinges.
All of this action will be attached behind the frame. It will not be obvious from outside the completed cabinet.
After the frame is attached, the controllers and the cabinet edge act together to restrain the hinges and ensure that the door remains upright.
Cabinet back
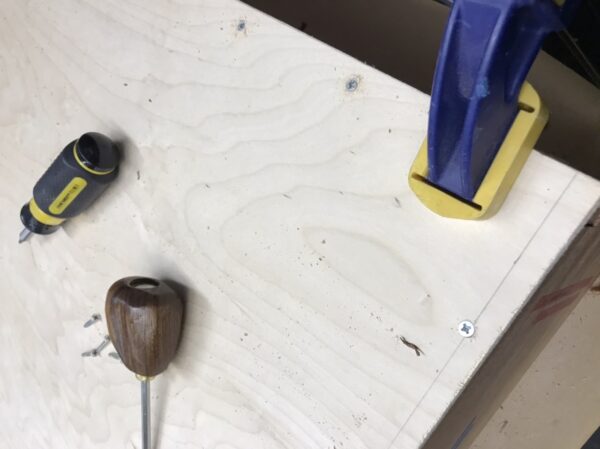
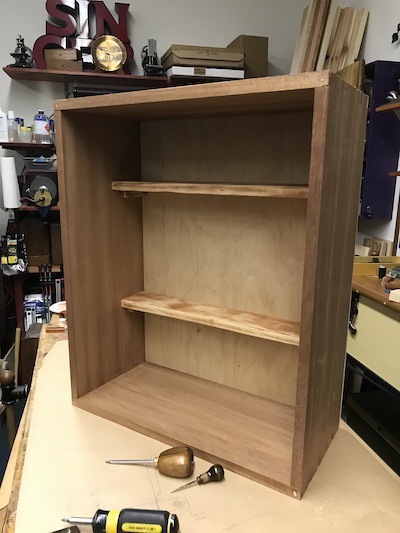
The plywood back was screwed onto the cabinet. I did not use glue so that I may remove it in the future.
Inside shelves
Two shallow shelves, the width of the cabinet, will hold everything I need. I repurposed an old shelf as source wood. From that, the “new” shelves were cut to size, one 3″ deep and the other 4″ deep, and placed inside the cabinet. I cleaned them up by scuff sanding, achieving a rustic effect.
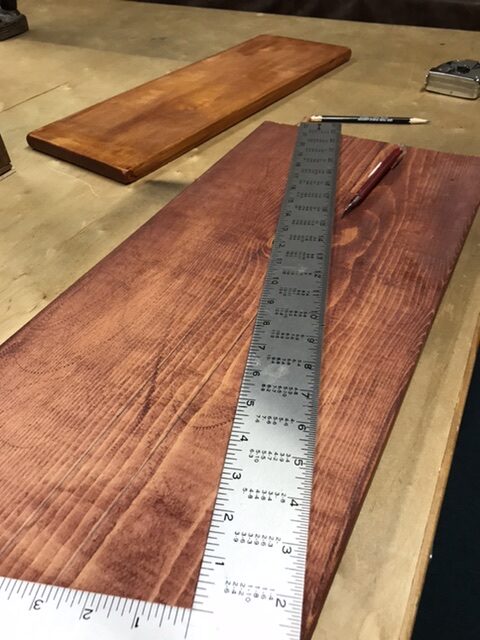
The shelves’ short depth allows other items of varying heights to stand forward in the cabinet space. This detail leaves room for flexibility and more creative use inside.
I made small shelf supports from strips cut from the same repurposed wood.
Attaching the door frame
The completed door frame assembly is attached to the cabinet front with screws.
Door latch and pull
Often, African granary locks were elaborately carved. The design was a symbol of the owner’s influence in the village. The latching mechanisms were quite clever and the inner workings were often disguised. This made it difficult to determine how the door was locked or, at least, held shut.
The slow rotating action of the hinges helps the Altar cabinet door stay closed. For now, I will leave the door without a latch or pull until I come up with a solution. My biggest concern is to maintain the integrity of the Baule door. I want to avoid drilling holes. Whatever solution I come up with will be mindful and discreet.
The final steps
Plane and sand as needed. Then apply finish.
What would I do if I knew I could not fail?
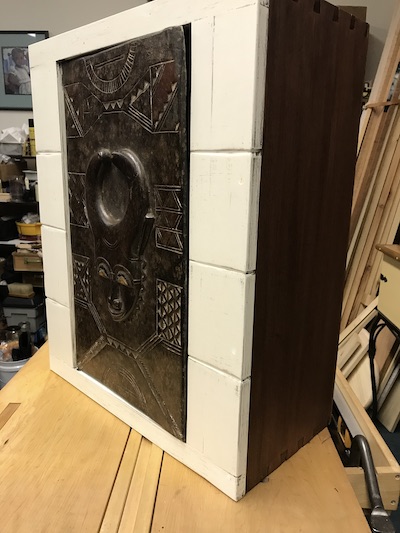
It’s this very project! It is a symbol of my desire to not fail. The challenge to me through it all was cutting the dovetails for a big project like this one. Accepting the challenge is a symbol of my own coming of age in the wood shop. It made me sweat, a lot, but I was determined to complete the cabinet. Early on, I accepted that I may not achieve perfect dovetails. Right or wrong, I decided that I would not spend an inordinate amount of time making “corrections”. As long as the misstep or error did not prevent me from going further, I kept going. I had to see how each step in the process led to the next step and, then, the next.
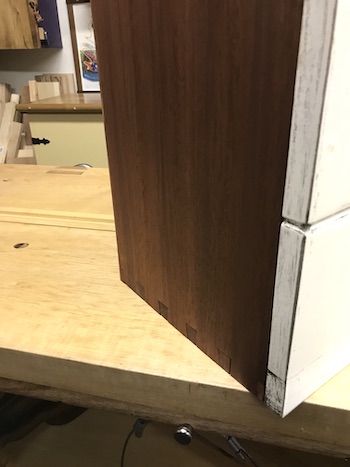
Closing circles, shutting doors, finishing chapters, it doesn’t matter what we call it, I know the project has reached its end. In the future – minutes, hours, days, or weeks – a few minor tweaks still will be needed. Some are actual, some only in my mind’s eye.
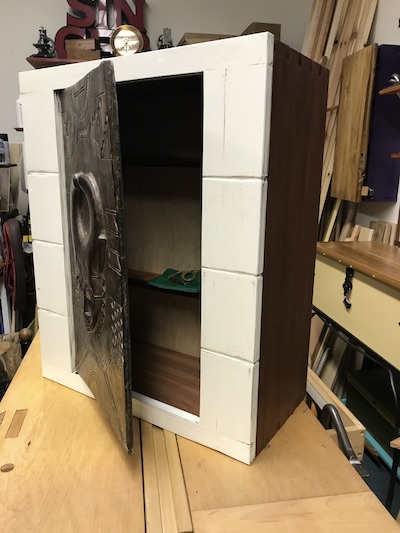
It is done.
•
Dedication
This altar is an offering in appreciation for the time, resources, and ability to pursue my work. The Baule door is a symbol of the physical, intellectual, and spiritual gifts given to me by my ancestors. It is a thought that warms my soul. I am thankful. My prayer is that it will keep me grounded and safe within myself. I am reassured that it protects me, my shop, and my work from negativity and doubt. May it also protect all of my visitors – in the shop and on this blog.
When there is no enemy within, the enemies outside cannot hurt you.
First offering
A small brass talisman is given to young girls as a symbol of their newly-achieved status as mature women.
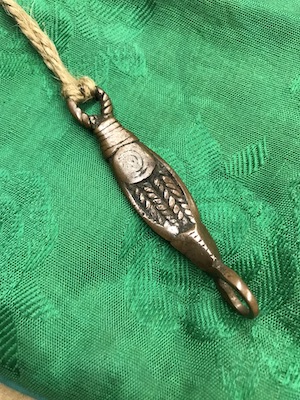
This is my inaugural offering for the Altar cabinet.
Read about the Baule people, here.
The end of a long road
This is the last part of a 7-part series about making the Altar cabinet for my wood shop. I spent a lot of time thinking, planning, reading, listening to music, and of course, woodworking.
Here are the other posts in the Altar series:
See the altar in action, here.
If you followed one part or the entire series, I appreciate the good vibes. Have questions? Ask them in the reply section below. Comments? Make them there, too. Ask me about anything… regarding this project or my wood shop.
Baadaye
Shirley J 🌹
Happy B-day, ERK!

