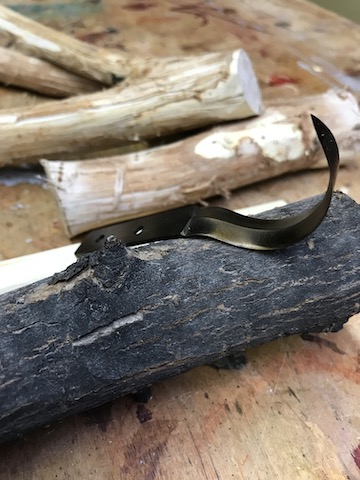
A hook knife is a handy tool to use when stripping and carving curved shapes into green wood. The tool is called many names, such as crook knife or Mocotaugen (Indian crook knife). It is used for carving spoons, small bowls and ceremonial masks. In its larger form, the tool is used to scoop out wood on memorial totems.
There are a number of toolmakers who sell the completed tool. I thought that I could learn more about hook knives by making one in the shop.
The Blade
I am not an iron forger. I would like to try it once, but not now. So I ordered a blade kit, specifically in the Haida style. This kit included rivets for attaching the blade to a handle (not included).
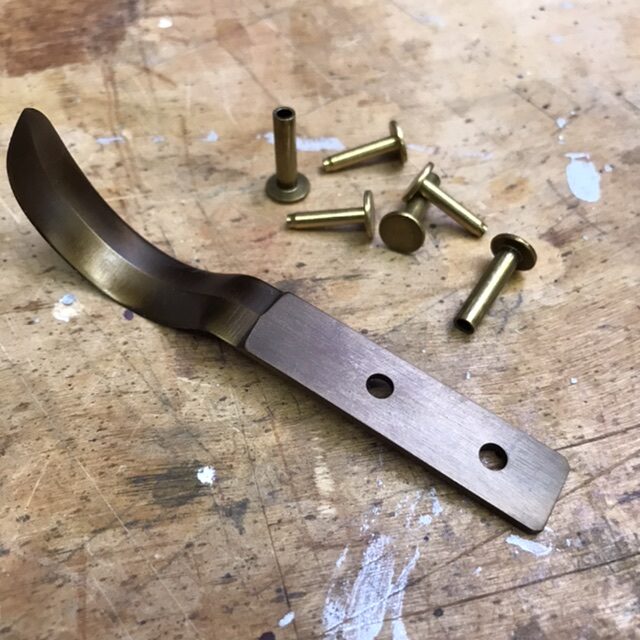
Most of my edge tools, with the exception of my chisels, are for rough work. Haida knives are used for more refined finishing on carved surfaces. I think that such a quality will be useful for future projects.
This is how I did it.
Preparing the knife handle
As you know by now, I am surrounded by a lot of elm trees that are succumbing to Dutch elm disease. A town program has been in place for a number of years to plant a variety of replacement trees. The new trees are of other species to reduce susceptibility to that disease.
In the meantime after a storm, I walked through my neighborhood to assess the damage. It is also an opportunity to pick up a few elm branches and bring them back to my shop.
Since the elbow adze projects turned out so well, I decided that a natural handle would be a perfect finish for the hook knife. As I did for the adzes, I debarked and cleaned the branch blank.
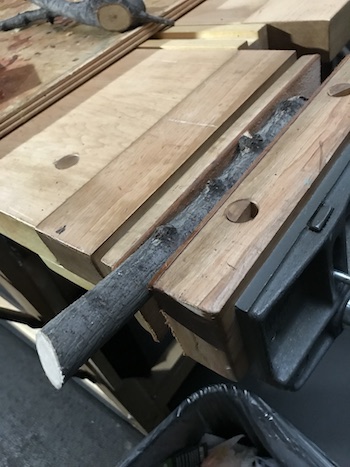
It did not take long to clear the bark from the small branch with a drawknife.
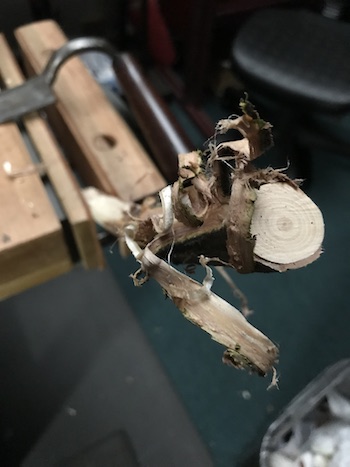
A concern about fit
My only concern here was that the tool handle could easily swing around. I wanted some clearance so that it would not bump into my body while I am working, especially my arm. I believe 11″ is long enough.
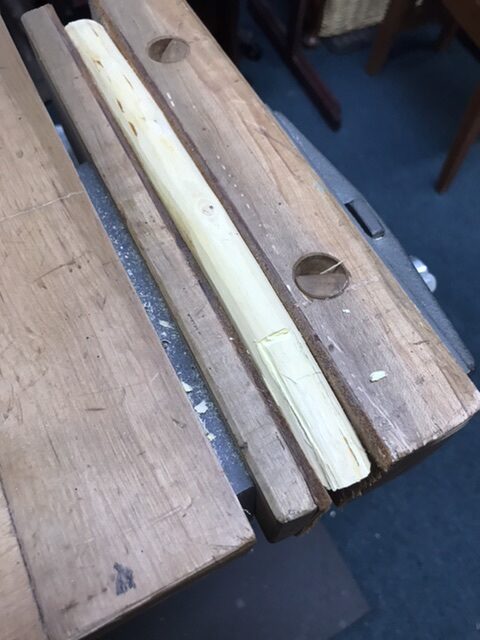
The kit had 5/8″ rivets. This means that the cross diameter of the branch must be at least 1/4″ larger than the rivets. Also, I am thought about how I wanted the knife to fit in my hands. The handle must not be so thick that it interferes with smooth carving. Neither should it be so thin that grasping the handle causes my fingernails to dig into my palm.
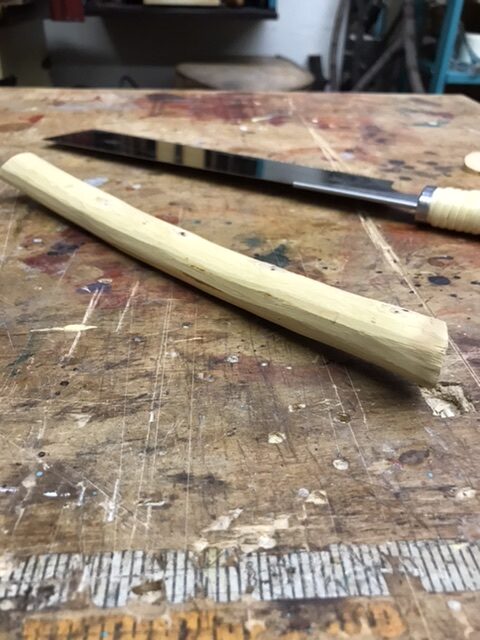
I decided that the handle would be one inch in diameter, which would be enough to fit my hand. It would taper to 3/4″ at the top or blade seat to accommodate the rivets. A shallow recess was carved out of the handle to seat the tang.
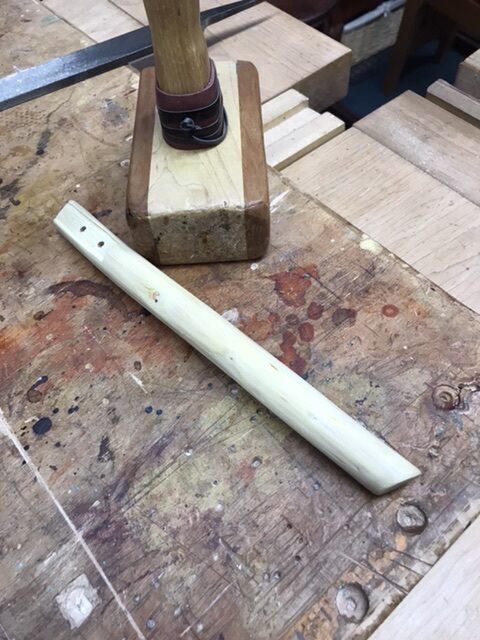
A closer look at the handle shows the shallow recess.
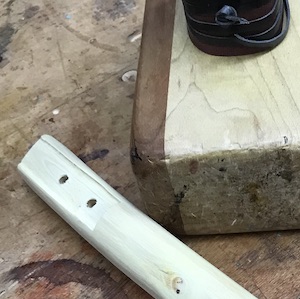
I test fitted the blade into the recess until it was flush. Two holes were drilled into the handle using the tang as a guide.
The sloped tip carved at the front of the handle will help when cradling it to cut into tight areas on wood spoons.
After those considerations, the hook knife was ready to assemble.
The Hook Knife is Ready
This is the back of the blade.
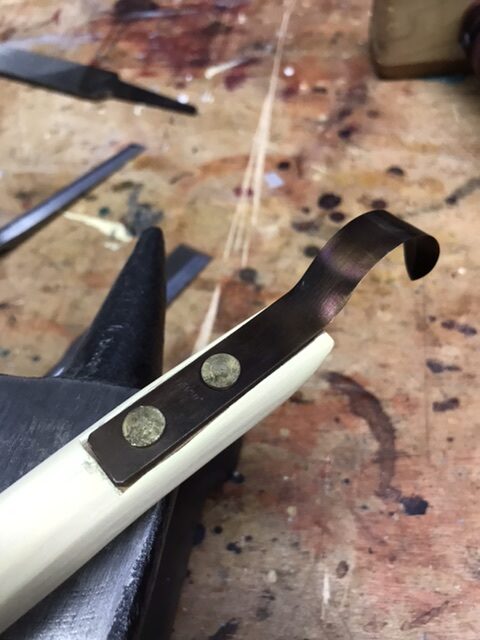
Here is the front.
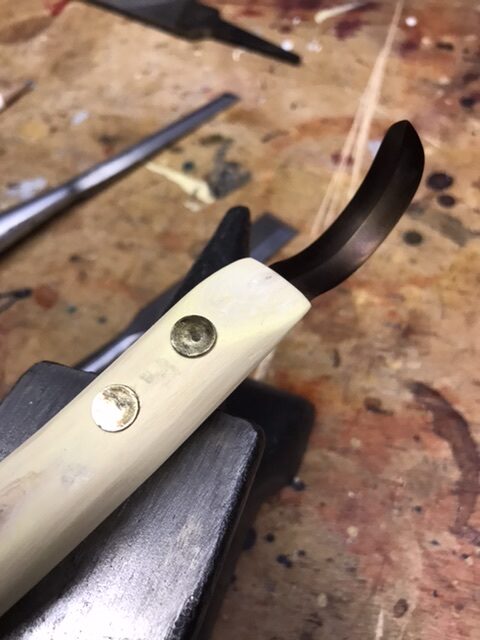
Great fit!
Finally, I wrapped the handle for aesthetic purposes but also to protect my hand from the rivets.
Over time, the wood will wear exposing the edges of the rivets. In turn, they may wear enough to develop sharp edges. Those edges could pinch or cut my fingers or palm. Wrapping the handle to cover the rivets prevents all of that. Also, the twine wrap provides the tool with extra grip. A replacement handle, however, can always be made at any time.
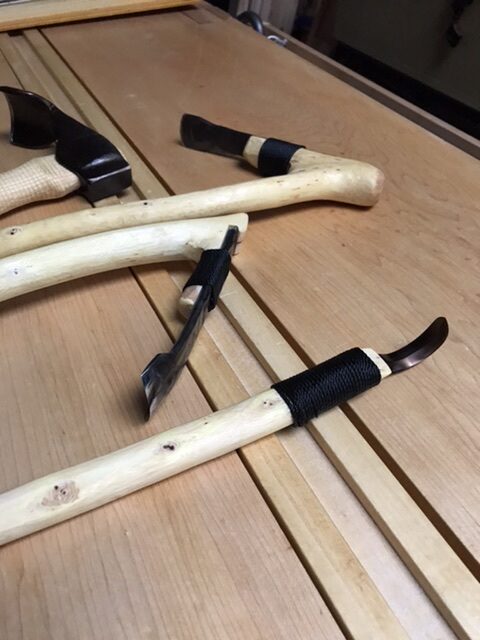
Next time: what else?… a sheath for the hook knife.
Baadaye
Shirley J ♥️

